Electricity in No Man’s Sky is very simple at its base.
You have 4 categories:
Power Generators
Power Conductors
Power Receivers
Power Manipluators
Power Generators:
The Power Generators are, Biofuel Reactor, which burns fuel to create Power, Solar Panel, which converts solar energy into usable power, but only during the day, Electromagnetic Generator, which harnesses the electromagnetic energy of Hotspots to provide power and I am also including Batteries in this category, these as you would expect, store energy, they work by receiving any extra energy that the network isn’t using up and storing that.
They have no limit on intake or output per second and will fill or drain automatically in reaction to changes in the demand and production of the network.
Power Conductors:
Power conductors are essentially just wires.
I am including other cables into this, but the only wire type that just transfers power is Electrical Wiring.
To receive or impart power, an item must be connected to the grid in some way.
This is usually done via wiring, though some things conduct power without wires like the Galactic Trade Terminal, Ring Light and several others, some things can take wires and conduct wirelessly like Lights and Teleporters.
Wires are a physical object that can have things placed onto them, though they also can be clipped within other items, this is very useful for hiding your wiring.
When I build a base, I take into consideration where lights and other required connections are going to be and remove flooring and walls to hide wiring once they have been replaced.
With some care, you can also target joints between different parts and often have the connection you are placing slide between them for hidden connections without the need to remove walls and more.
A top tip here is that when you are dealing with a lot of connections in a small space, instead of using the wire in the primary build menu, use the quick menu where you would delete and colour.
The Wiring in this quick menu only will have snapping points disappear as you get very close allowing you to place connections very close to each other without hassle, this is great for tight turns and overall wire management.
Power Receivers:
Power Receivers are everything that requires power to either function at all or function at 100%.
These are anything from lights, to circular rooms and Galactic Trade Terminals, teleports, doors etc.
As I said before, some Receivers can also conduct, primarily, these are the Circular and Cuboid style rooms, they are designed that you power the room itself which will then require no wiring inside, so they will conduct power to anything within that needs it and so attach it to the grid.
This can be utilised in glitching to have certain conduction only items work outside by glitching to the outside.
A prime example of this is the ATM-style Galactic Trade Terminal I have shown before, where you glitch a trade-terminal into position floating, then glitch a cuboid room to phase with that terminal, powering the Cuboid Room will then conduct to the Galactic Trade Terminal allowing you to have one outside.
Though there is a more advanced and refined version found by Darklord Xelrick which I will explain in the Glitching section.
Lights are amazing for receiving and conducting, you can line up a huge number of lights, then provided they are close enough to each other, power a single one which will conductively power the whole line.
This can be used to great effect to creatively power other items via proximity
Power Manipulators:
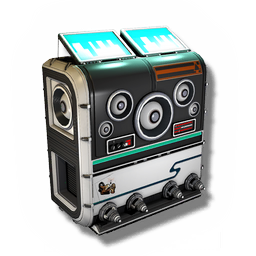
Lastly are Power Manipulators, these are the Logic Switches, though you can also use a ByteBeat as a ‘power manipulator’ thanks to it having the ability to time power for lights and such to the beat.
There are 6 in total.
Wall Switch
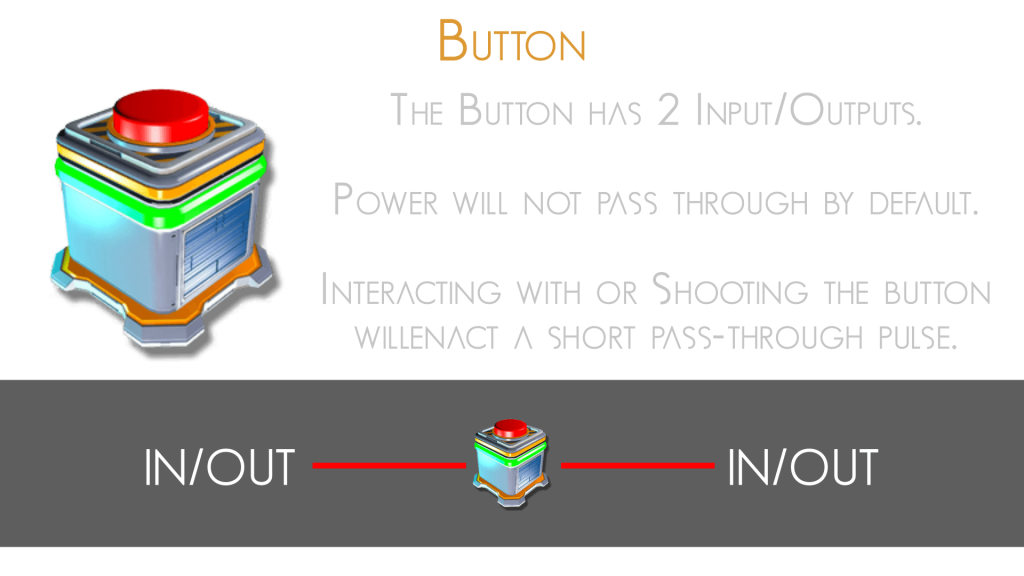
Push Button Switch
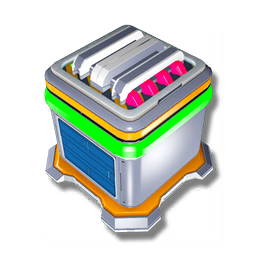
Proximity Sensor
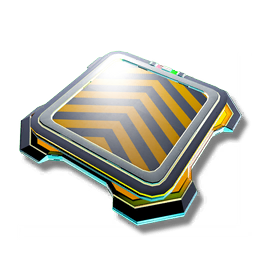
Floor Switch
Power Inverter
Auto Switch
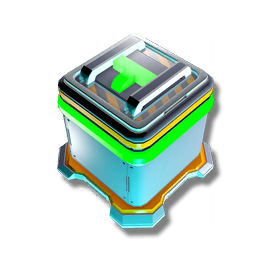
The Wall Switch allows you to manually toggle the current passing through it.
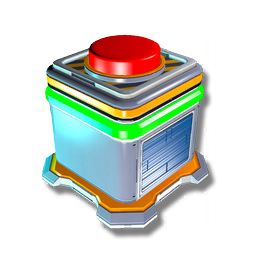
The Push Button allows you to let the current through for a short pulse.
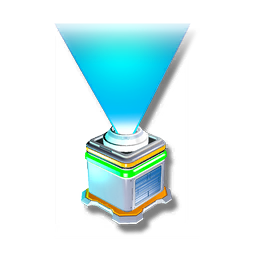
The Proximity Sensor will allow power to pass through if a player is within 10u of it, this includes the player Camera when in build camera mode or if in regular camera mode on multiplayer so the world isn’t paused
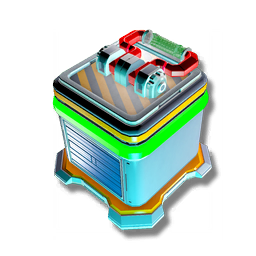
The Floor Switch will allow Power to pass through if something is adding pressure to it, this includes a player walking onto it, fauna, NPCs, and even things like a Ball produced via the Sphere Generator
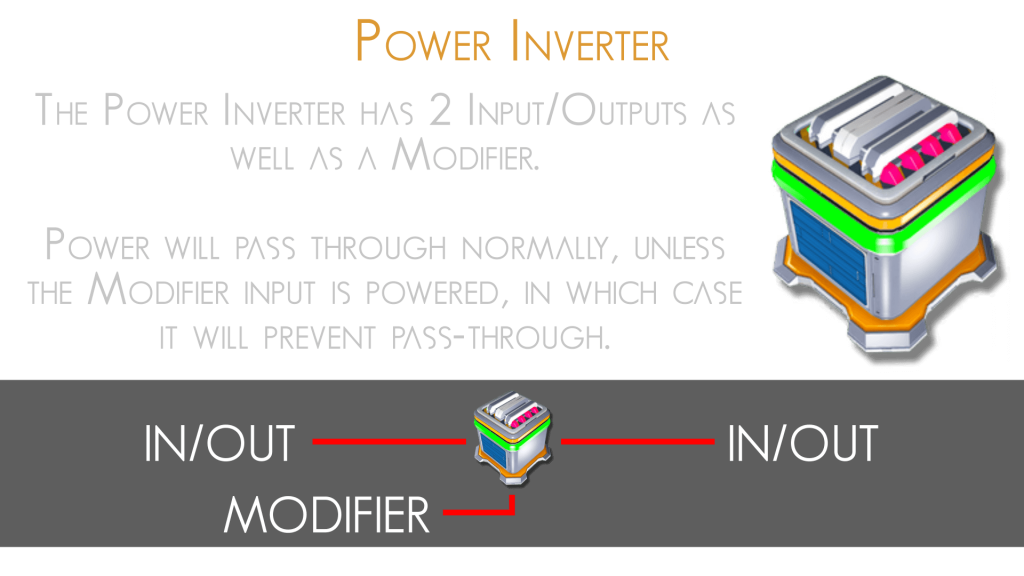
The Power Inverter has 2 connections for input and output and then a 3 modifier connection. Power will pass through these 2 connections naturally, but if the modifier connection is power, it will prevent power from passing through.
The Auto Switch, this is just the opposite of the inverter. Power will not naturally pass through the 2 pass-through connections but will allow pass-through if the modifier connection is powered.
One thing to note is that all Wiring, this includes Electrical Wiring, Teleporter Cable and Supply Pipe is, they all have a maximum distance of 200u.
For Teleporter Cable, this is a real issue as you can only attach a teleporter cable from one Short-Range Teleporter to another, you cannot kink the cable, it has to be direct, this puts a maximum Short-Range Teleport connection to 200u unfortunately.
However, there will be a guide coming soon on how to achieve a relay with the short range teleporters …….
Wiring and Supply Pipes can be kinked by just connecting them to the ground or another surface, for the Pipe this has to be flat, but Wiring can be connected to almost any surface, and then extended a further 200u.